Woodworking
Since the COVID lockdowns I've been getting into woodworking as a way to get away from my computer and these have been a couple of my projects.
Monitor / Laptop Stands
Since playing around with some ergonomics and learning about keybords I realised how bad most monitors are for customisation and height adjustment. Most basic ones don't actually go up to the "correct" height for most people so I decided to make some monitor stands to raise them up to a good height. Similarly, people who have laptops as their work computer end up with them on the desk rather than raising them up to a good eye level.
Most of them I've given away to colleagues or people at the hackspace, asking for donations to charity as a thank you. They allow me to practice my joinery rather than just making joints which is a bit of a waste of wood.
Most of the wood is made from wood from T. H. Hardwood. I'm trying to be as sustainable as possible and the wood comes from my local area.
Basic Dovetail
This was a laptop stand for a colleague, they were using a box to raise their laptop up but I thought this would look a little nicer.
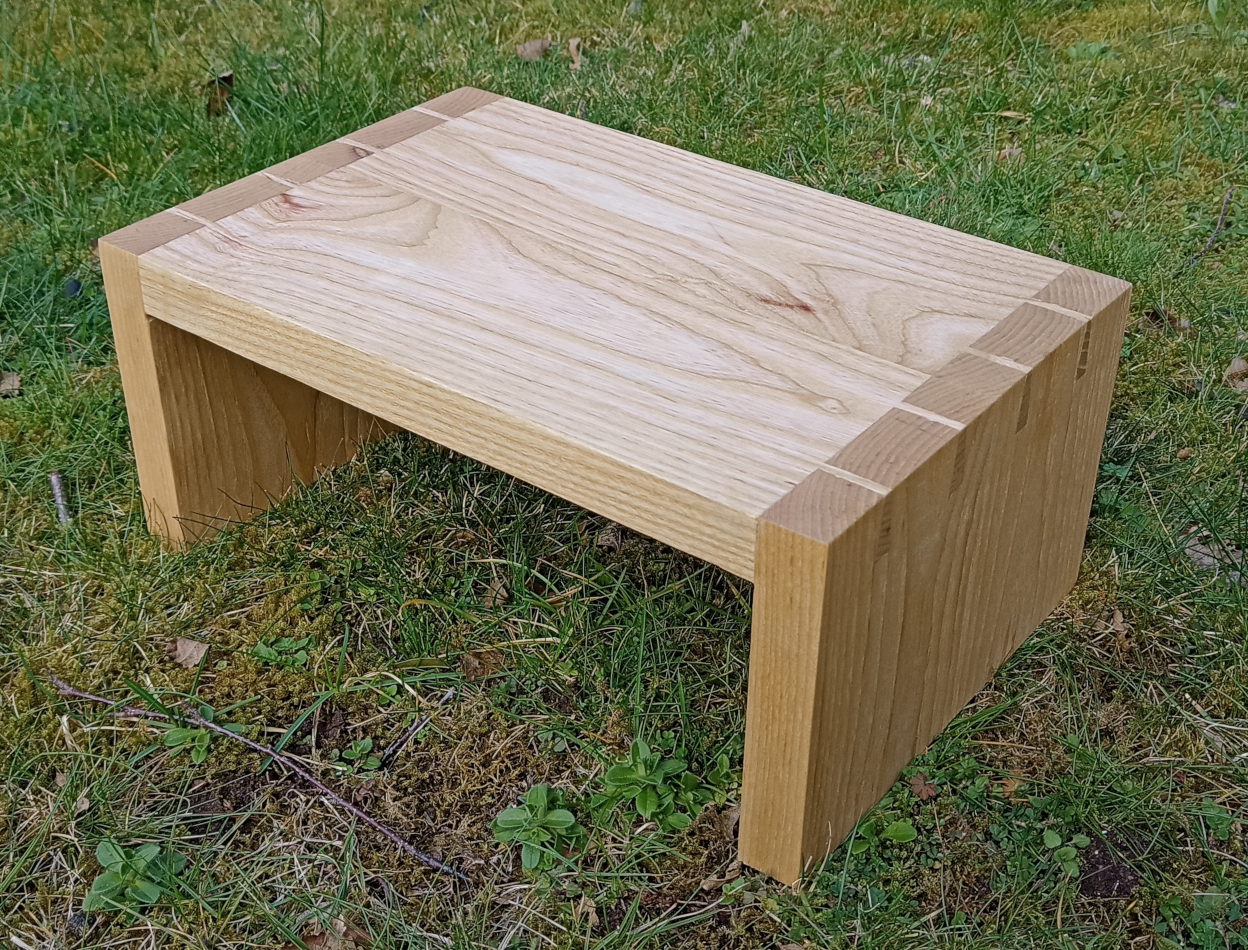
This one was done entirely by hand, including dimensioning the wood in the first place. There were some mistakes with the dovetails but it was a good learning experience, especially trying to correct said mistakes. Overall pretty happy, and my colleague was as well.
The wood from this was from a batch from Surrey Timbers. Not sure if they do rough planed boards any more, although their slabs are fantastic.
Walnut and Ash Monitor Stand
I made this for myself and I love the look of the half blind dovetails, although they were a pain to cut. I'd made the mistake of cutting the mitre in the socket sides before cutting the dovetails. Next time I'm going to cut the dovetails in both sides and then cut the mitre in the socket ends. The top is English Walnut and the sides is English Ash
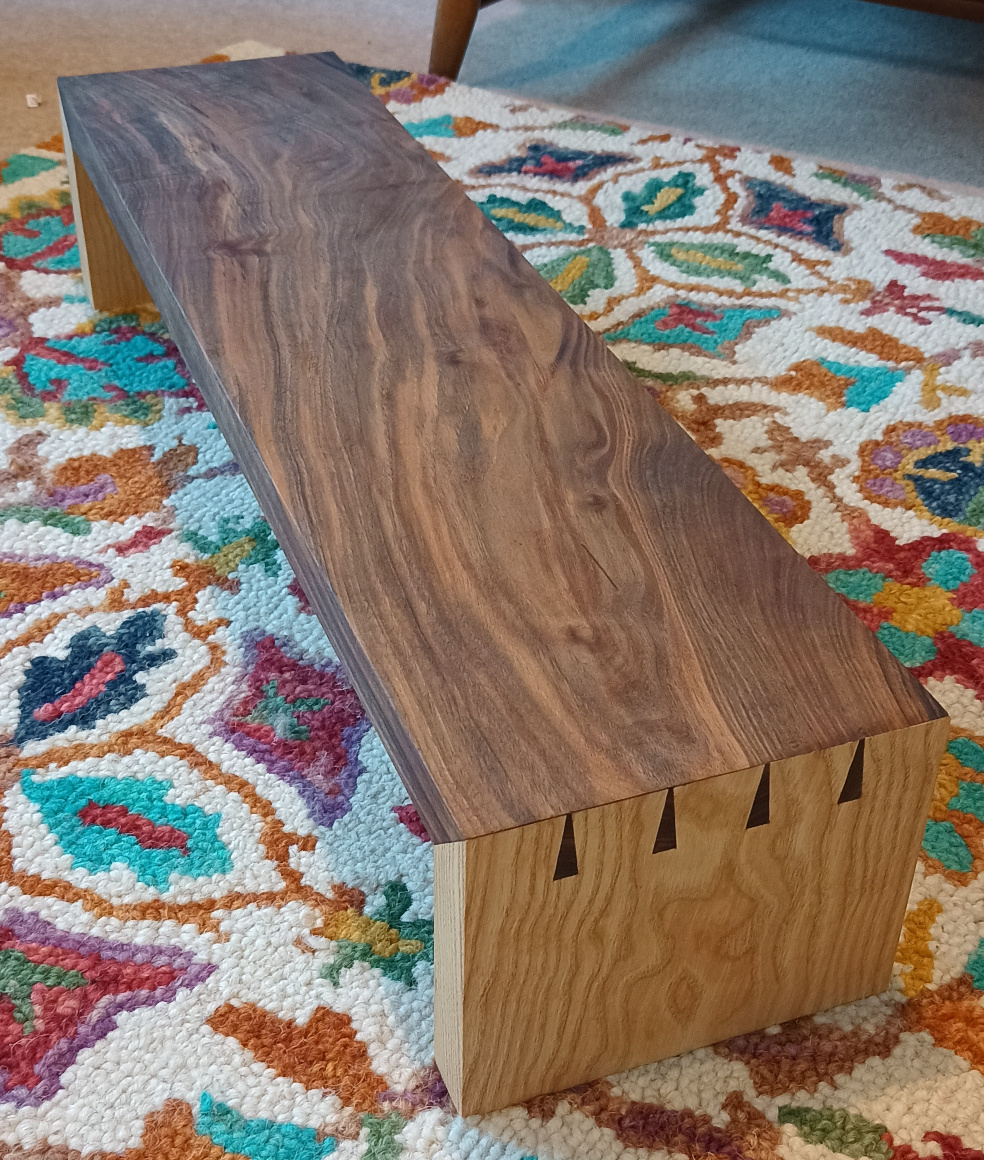
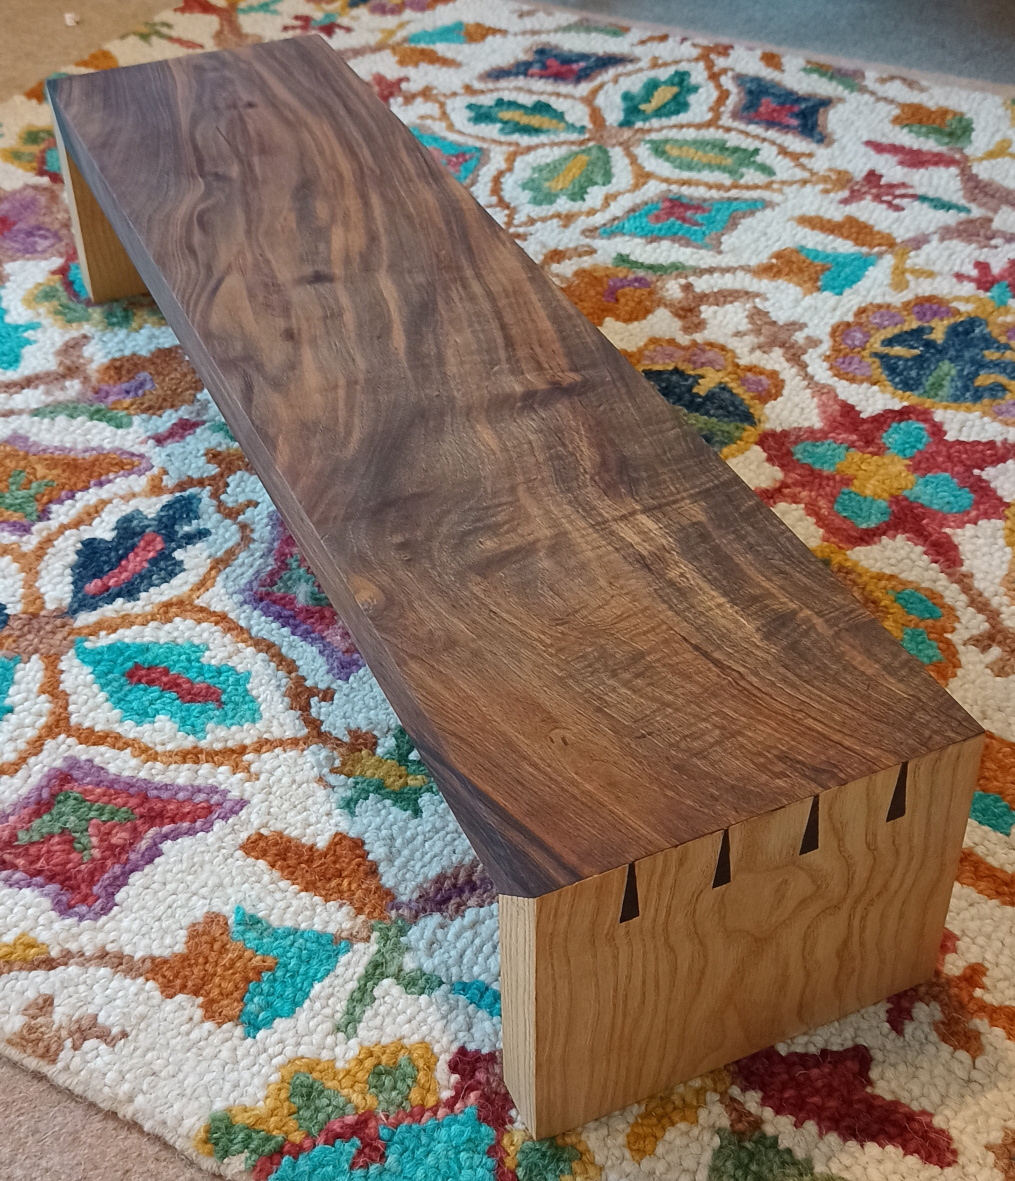
These were tricky but well worth the effort for the look. The boards were dimensioned with machine tools but the dovetails were hand cut.
I did make a critical mistake and the wood wasn't properly seasoned and I didn't check the moisture content and the board ended up twisting slightly over time but I'm just going to live with it.
Walnut Live Edge Laptop Stand
This was an experiment to use up some scrap from the Walnut and Ask monitor stand and I was really happy. I made one or two mistakes cutting the wrong part on the bandsaw and had to fill it in with some putty, but the way the live edges work on the bottom of the laptop arm is a nice touch. Originally I'd wanted to have a live edge going round the whole thing but I thought that it might be over the top. I liked adding a bowtie inlay even though I think it was a little unnecessary.
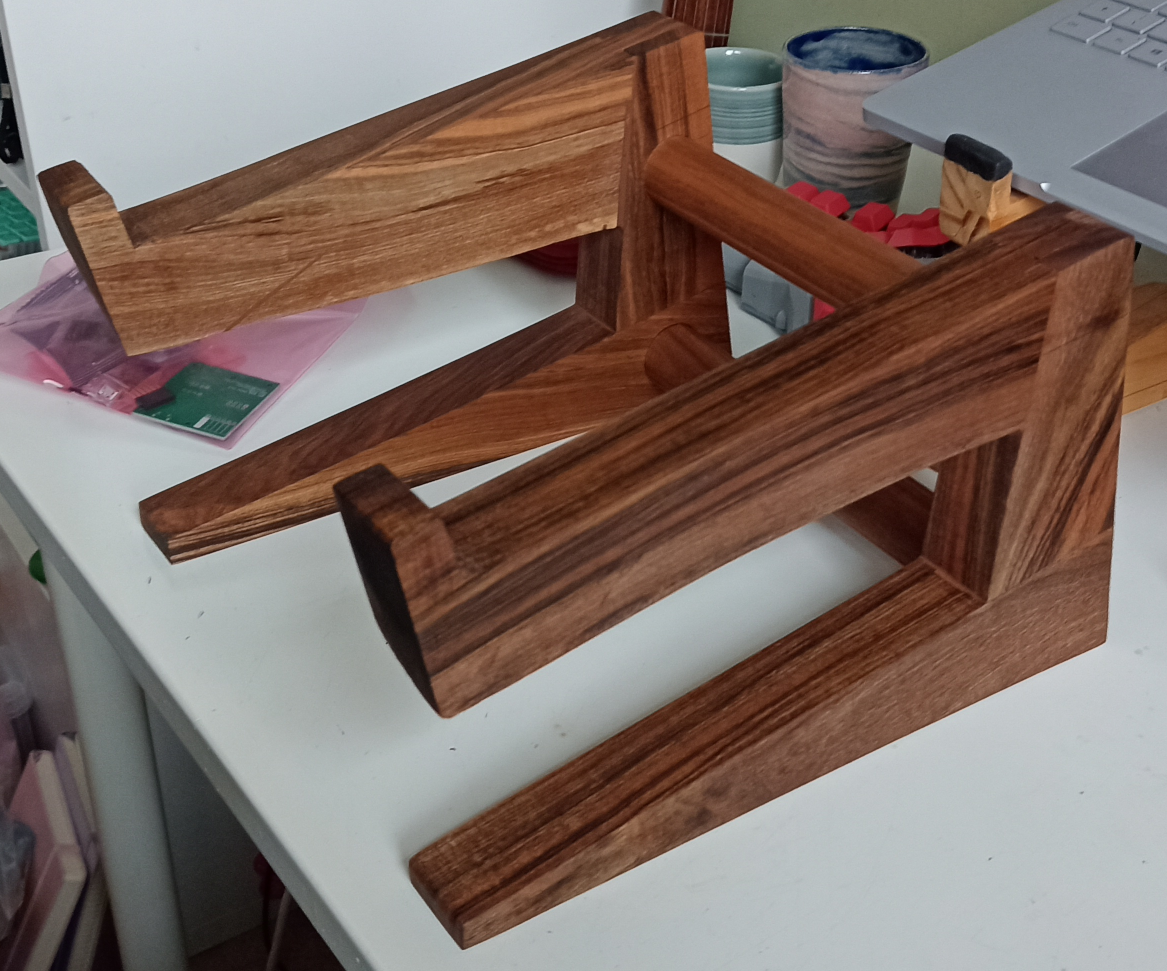
I had previously made a stand similar to this out of a single piece of wood, but it suffered from a critical problem in that the grain direction created weaknesses that could lead to failure (which I experienced the hard way). This way is a little more messy but isn't weak.
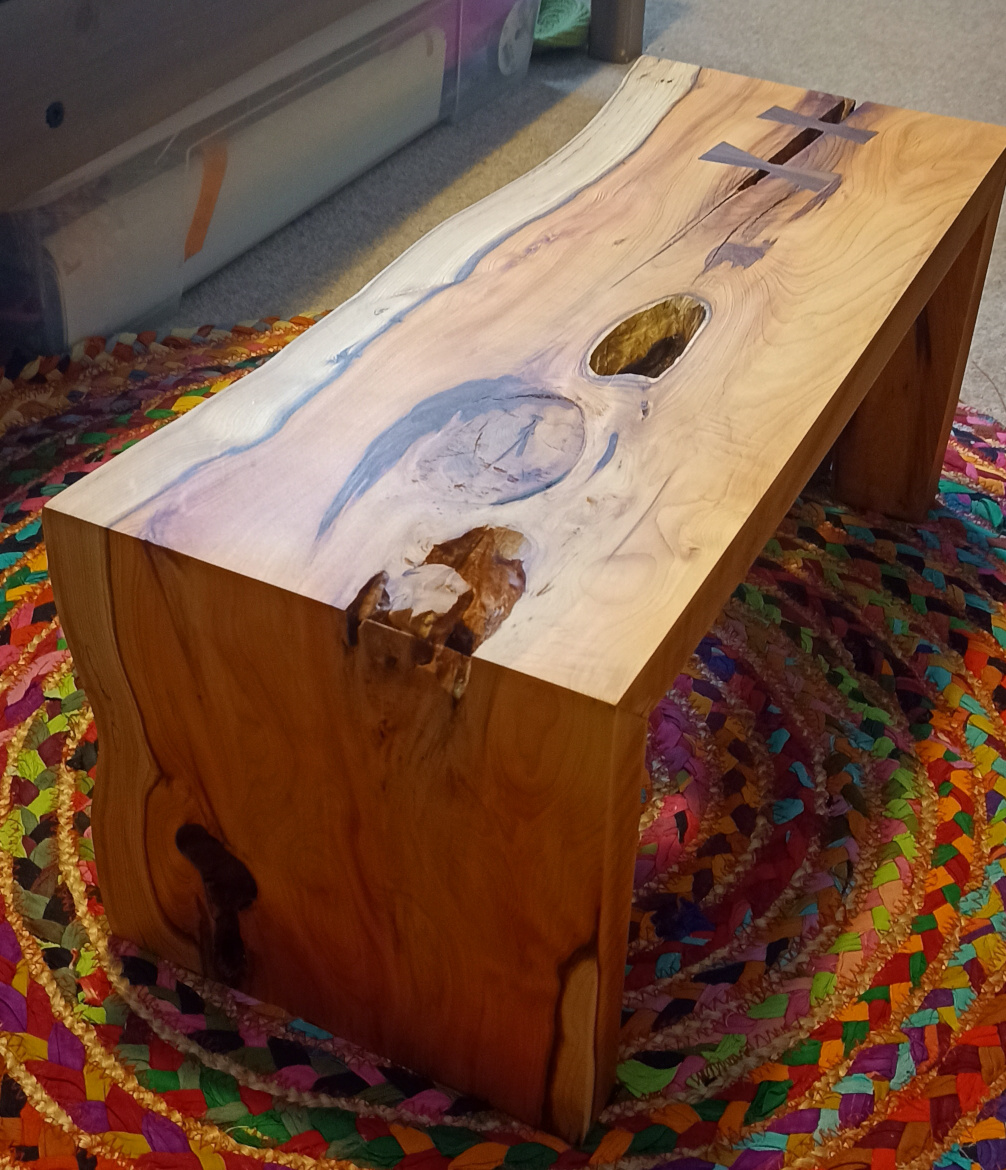
Yew Monitor Stands
I picked up some nice pieces of Yew which I'd never really seen before and was amazed by the colour. The deep red heartwood and the lighter sapwood is a nice contrast. The right hand piece was good in that it was a single board which had some holes and splits to work with. I'd considered doing an epoxy pour but settled on some deep bowties which I though were a bit more natural.

The single right hand board turned into this. I chose to do a simple mitre joint as it shouldn't be too load bearing so didn't need any reinforcement and it allows the wood to flow over the edge. I did have to sand the corner a bit more than I'd like so it looks a little odd.
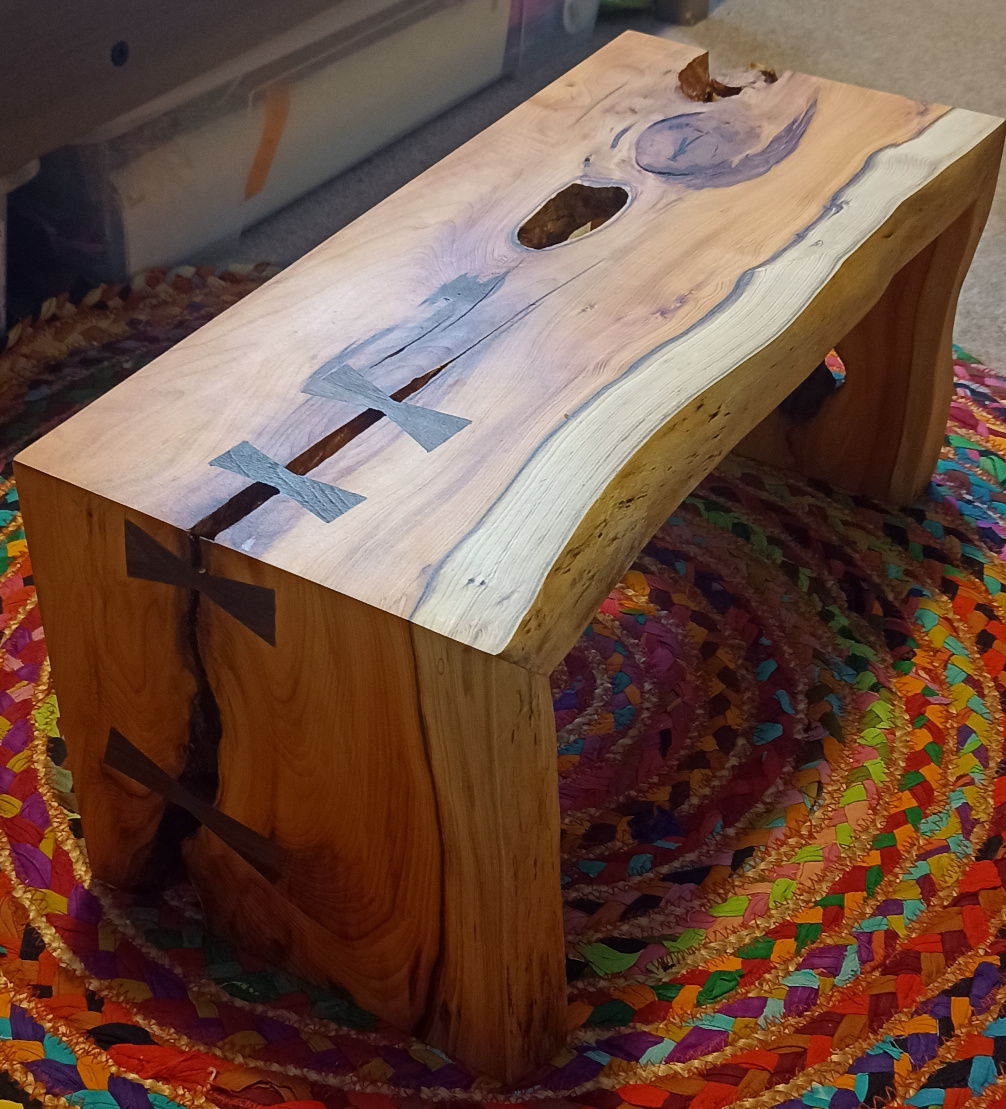
This was the first experiment with a mitred joint and bowties and I used walnut as a slight contrast which was a good colour difference.
The left hand boards got turned into another monitor stand which I was inspired by a design from Ishitani Furniture. Originally I'dj earmarked it for a coffee table but the boards ended up being a bit thin and the proportions weren't great.

Overall I liked it. It ended up being taken by one of the FizzPop makerspace members.
Kerf Bent Rainbow Stand
I saw a great video from Foureyes Furniture and thought the look was great and using crayons was a fantastic idea. It was a really simple way to get a massive streak of colour.
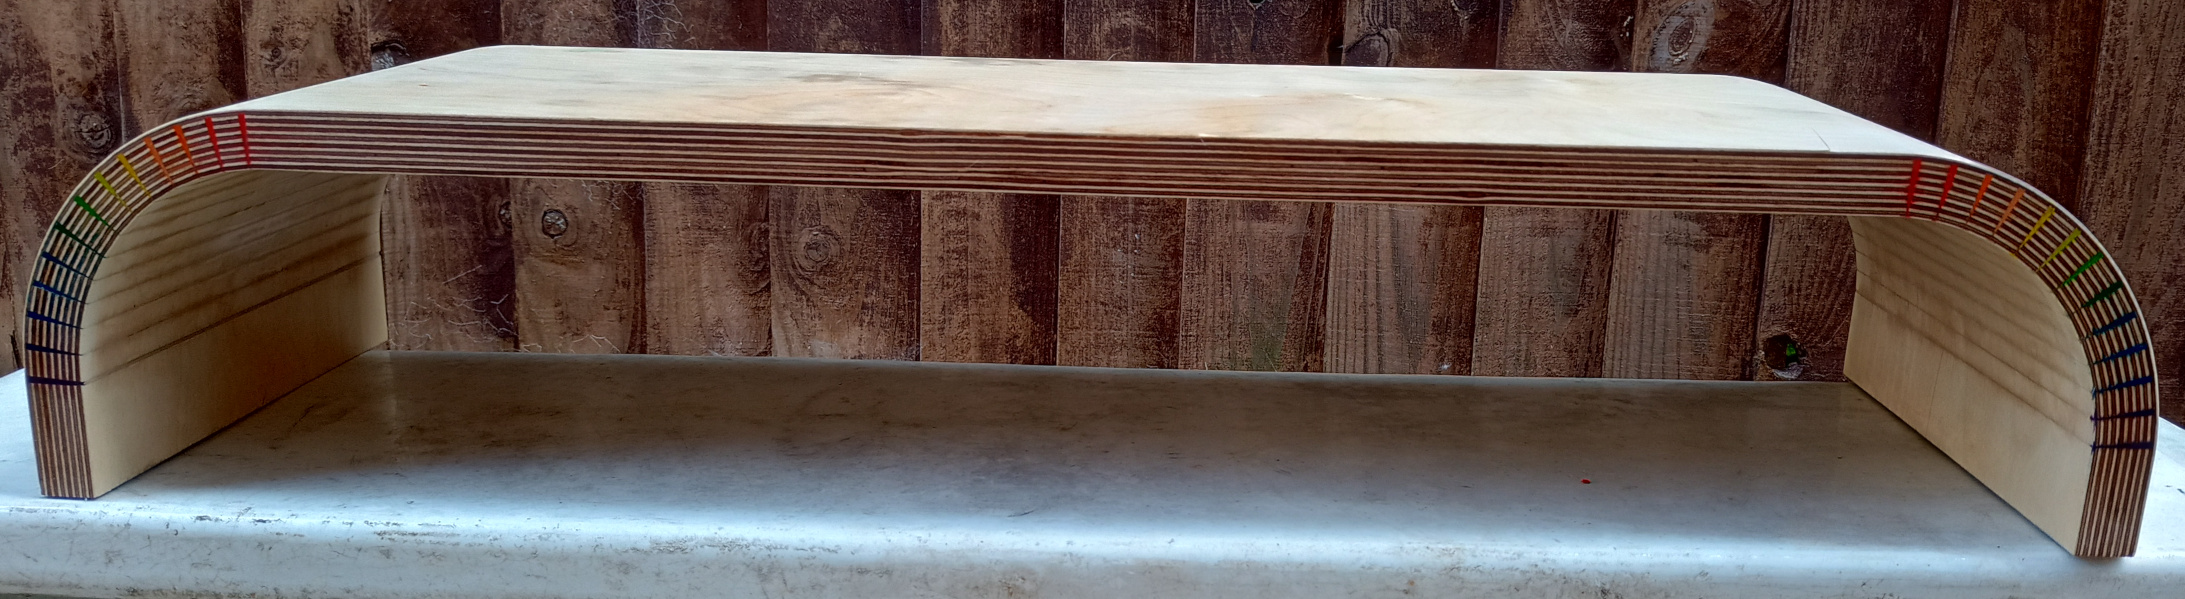
To melt the crayons I ended up using my hot air pencil from my soldering workstation which could be a little bit more focused than using a hot air gun or hairdryer. I really loved the effect and in didn't use too much crayon.
This was a cool experiment but there are some tricky things, 1. The blowout from the saw was extreme. You need to use a fine toothed blade to do the kerf cuts and support the part where the blade exits 2. The melted crayon seeps into the endgrain so the next one I'm going to try a mica powder expoy pour.
It's definitely something I'm going to look into further.